


Article content
Every time I come up with a helpful photographic tip, I note it down. But some are so helpful that I attempt to share them with as many photographers as possible. In this post, we’ll look at 20 of the best 2021 photography tips for beginners.
There are a variety of easy-to-understand photography techniques, ranging from beginning camera technique to composition and creativity. These should be especially beneficial to you if you are studying photography and want to improve your skills fast.
Best 2021 photography tips for beginners
Your Composition Needs Attention
Being interested in what you’re doing is essential for taking captivating photographs. Flying on autopilot isn’t the best way to get around.
Think about your composition and attempt to make your photographs as nice as you can instead. One of the best beginner’s piece of knowledge in photo composition is the edge of your frame should not cut off crucial elements of your topic.
Aim to keep your horizons level in your photos, and to eliminate any distracting elements in your composition. Balance and simplicity should be apparent in every photograph.
If your initial attempt at taking a photo doesn’t turn out well, keep trying until you get it properly. This will help you to create great images and will improve your photograph substantially.
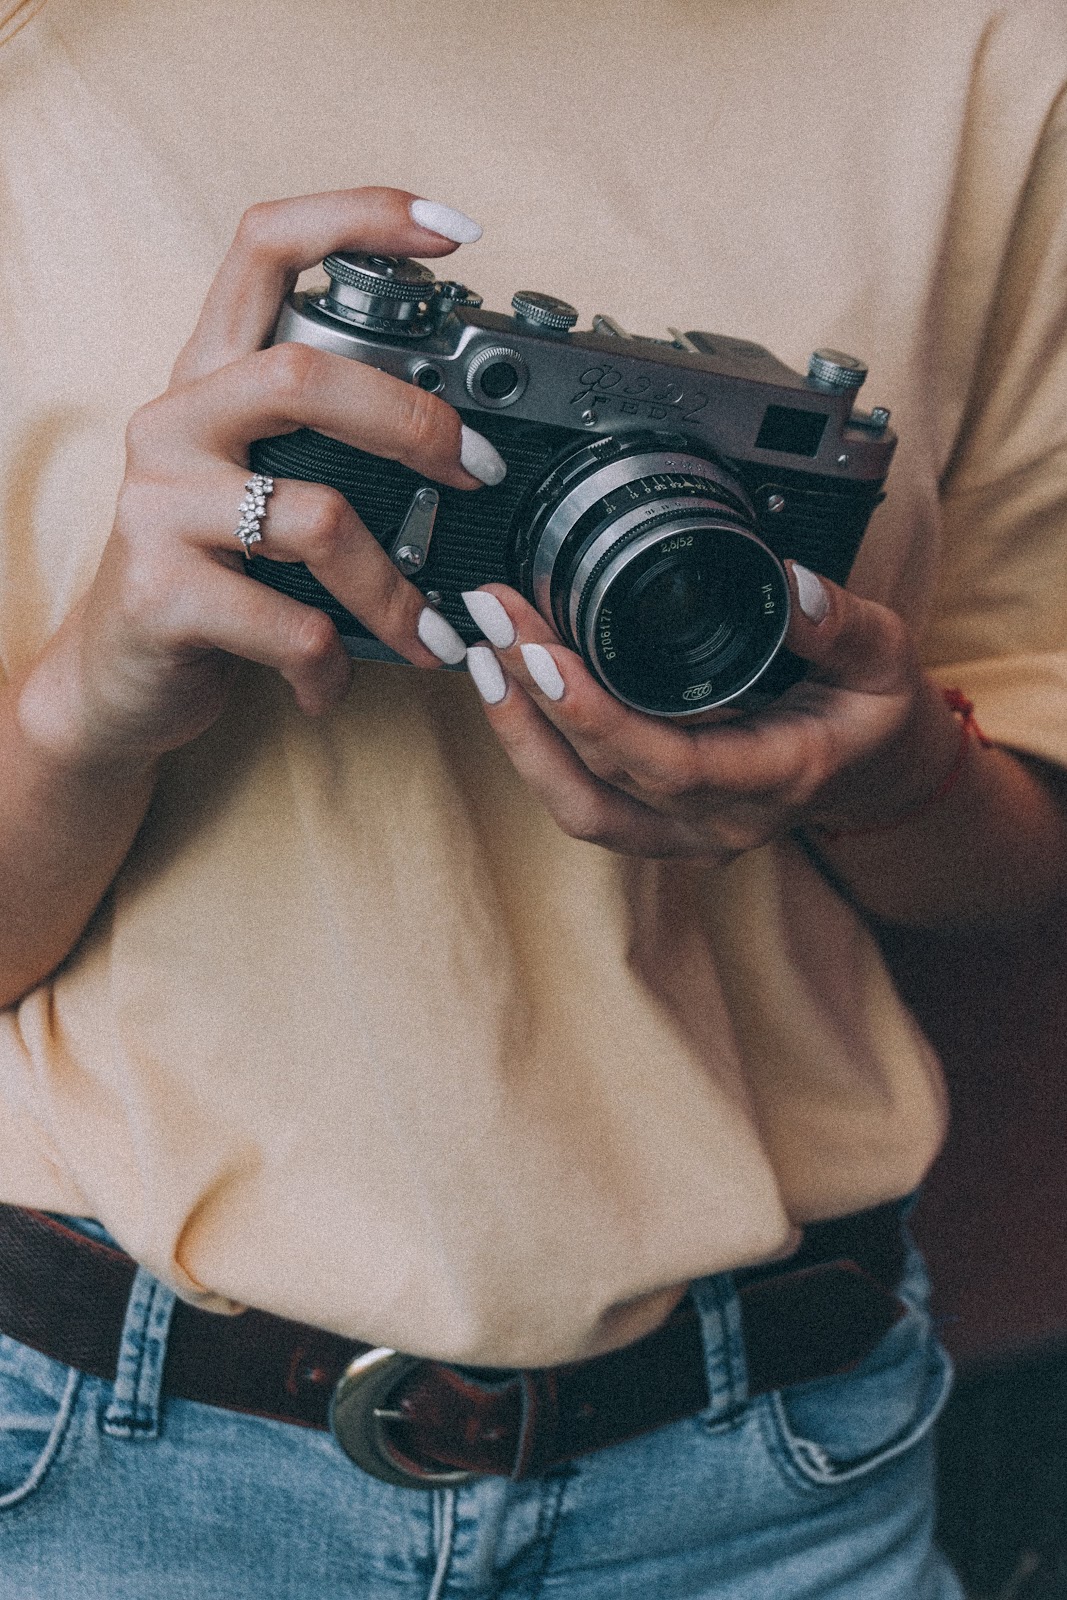
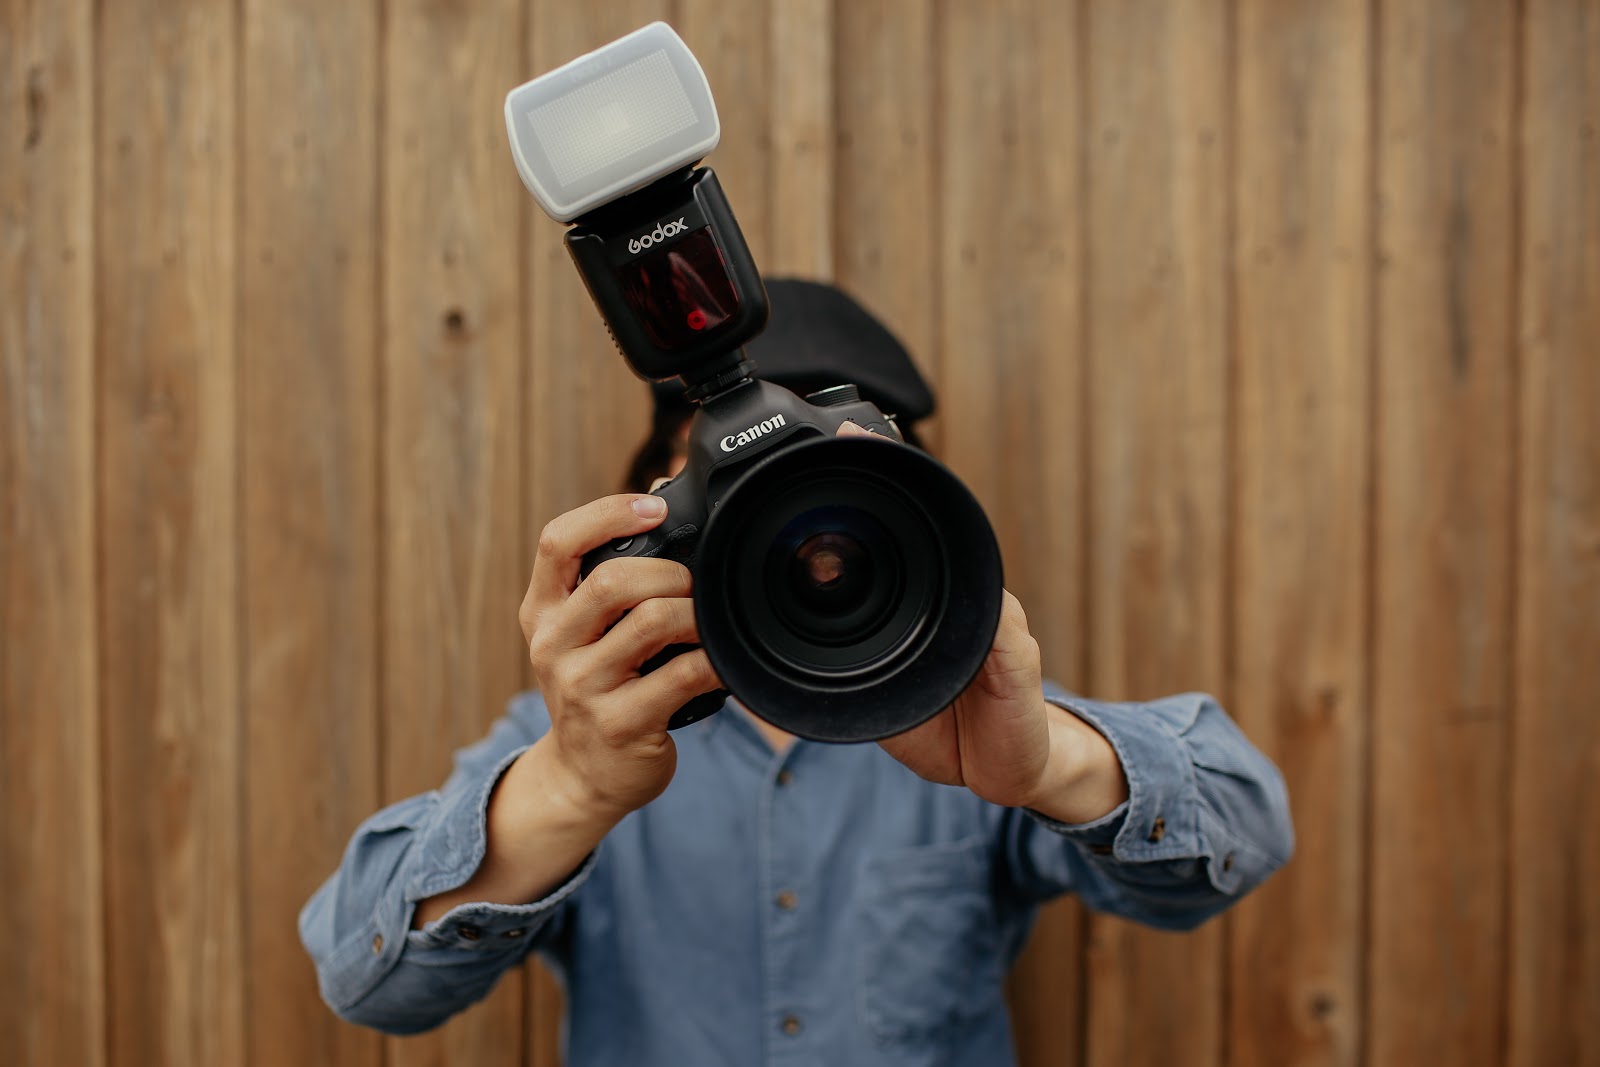
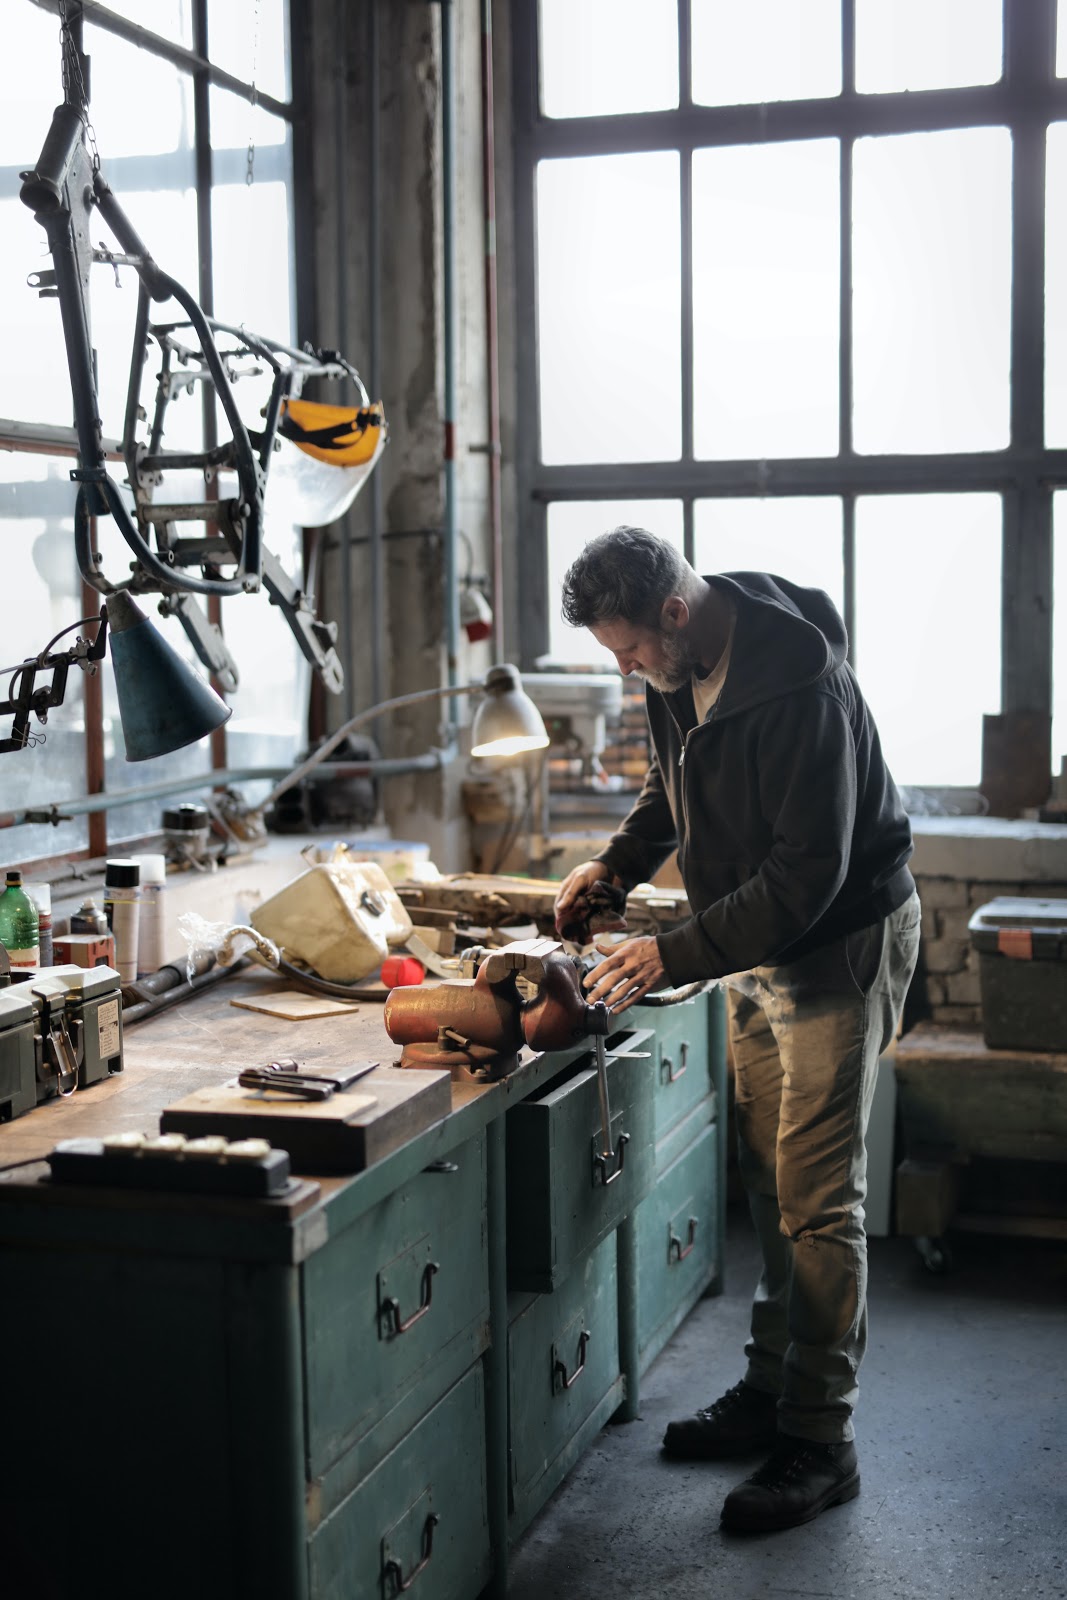
Take advantage of the camera you already own
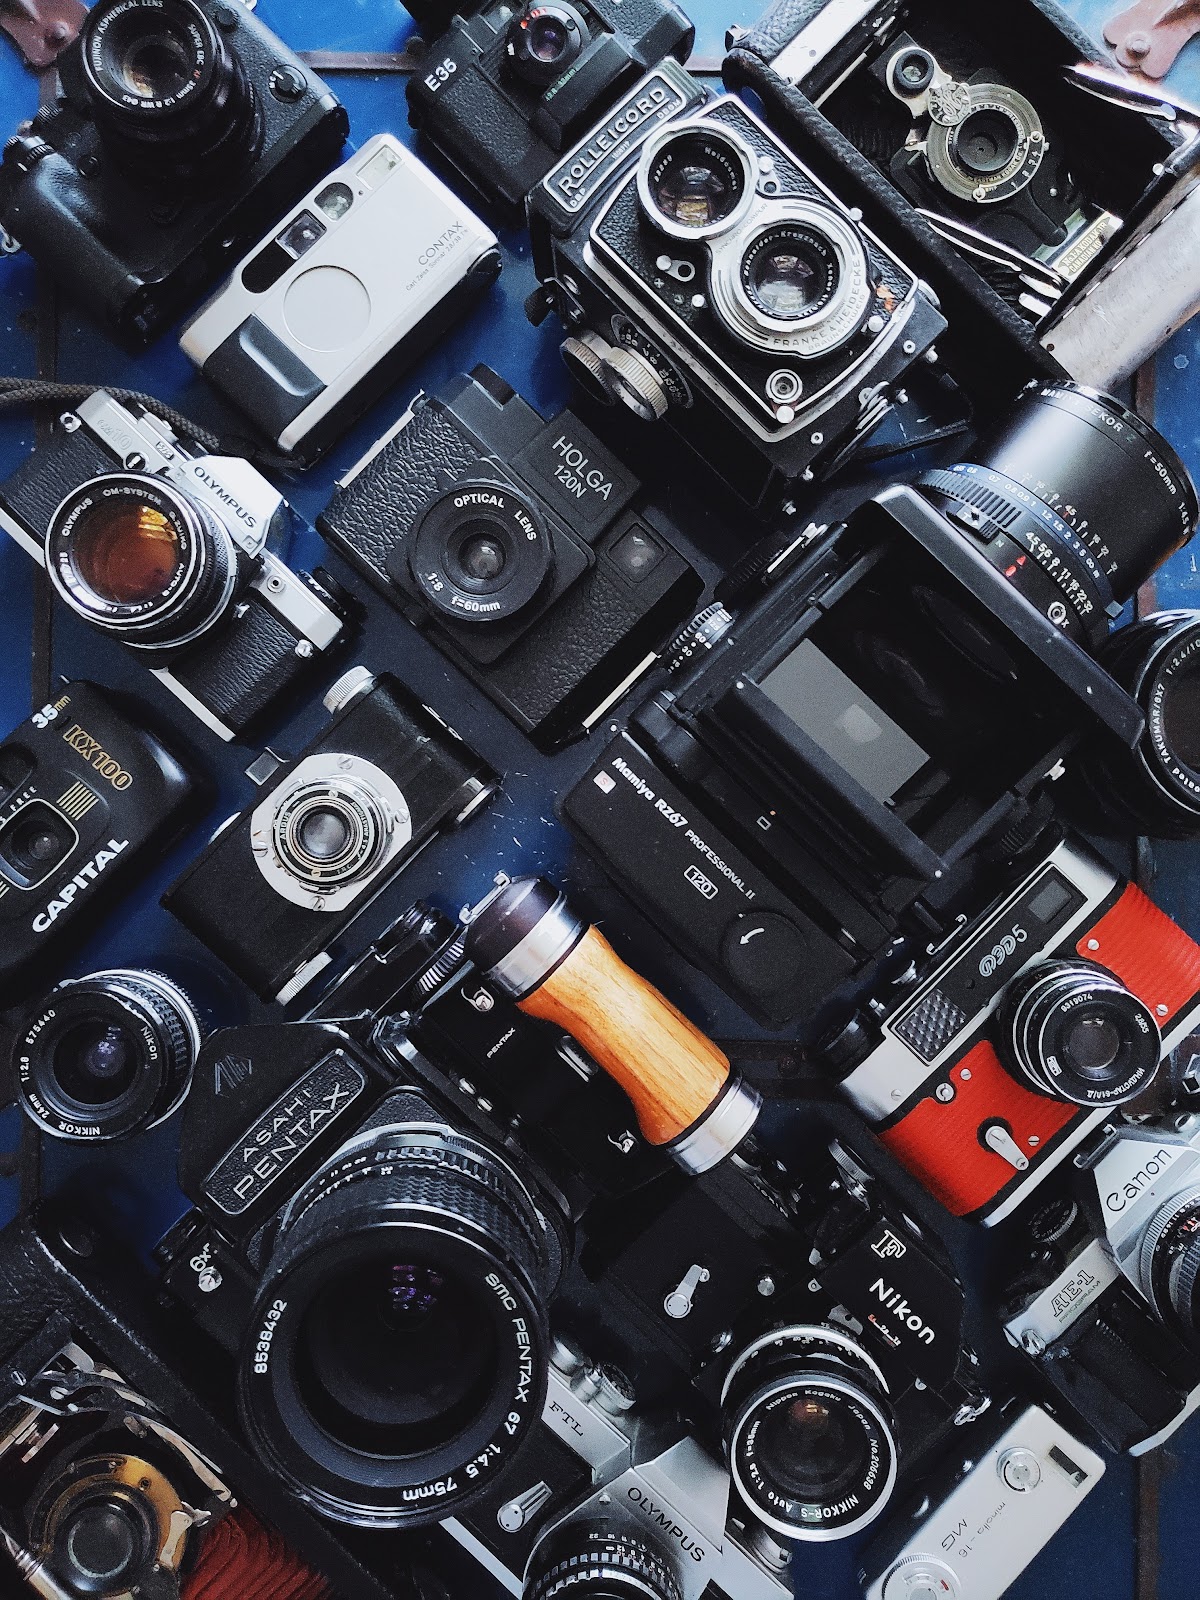
The camera gear really isn’t all that important. In today’s market, there are a myriad of cameras, lenses, and other accessories available. But not all of it is essential.
Some are better than others (or better suited for a given job). However, once you’ve evaluated a sufficient number of them, you’ll realize that virtually everything available now is great. Especially at a particular price, the variations are usually negligible. Using the camera you already own is a good idea, as well as not looking back. Entry-level DSLR are superior to film SLRs in nearly every technical regard.
The film photographers, on the other hand, were able to create magnificent, iconic images that still look good today, so definitely equipment is not the differential.
Your creative abilities and camera settings expertise are far more crucial… Not accumulating camera equipment, but rather focusing your efforts there will yield better results, is the way to become a professional photographer and create outstanding work.
Learn which settings are most important to you
Camera settings are many and need a certain amount of skill, especially for beginners. Even the most experienced photographers are not always able to get everything quite right. How to configure your camera correctly and which settings are most important to get the greatest photographs are worth studying.
You might want to start by practicing using camera modes other than the automatic setting first. The camera will not help you learn anything if it makes all the decisions for you. In all photography, they are the three most critical settings to understand and use. ISO, aperture and shutter speed, focus on that, and you will be on the right track.
Learn how to correctly focus by practicing with the different autofocus modes. Moving subjects are more likely to benefit from modes that can “track the subject” like continuous-servo autofocus (also known as AI Servo), whereas stationary objects will likely benefit from single-servo autofocus (also known as One-Shot AF).
But do not forget the manual focus, where you are the one making the decisions, it will be used not just to shoot in places where you do not have great light available to help the autofocus, but it will also help you to understand what proper focus is and how to achieve it.
Last but not least, shoot in RAW if you intend to edit your photographs or believe there is a chance you will do so. In-camera, JPEGs appear nice, but post-processing options are limited. Take both RAW and JPEG images, and save the RAWs for later.
Some camera have beautiful JPEGs files out of the camera, but you will have to make sure that all your settings, more importantly your white balance, are perfect. In any case, shoot a version of on a RAW format to have more flexibility in future edits.
Highlights shouldn’t be overexposed

A photo’s highlights should not be overexposed while choosing your camera settings. What is the cause behind this? White parts of a photo cannot be recovered in any way. And I think you agree. I personally prefer a sky that has excellent structure and color than one that is simply a huge, featureless blob.
This is a rather straightforward process. The shutter speed, aperture, and ISO all play a role in achieving this. These are the only camera settings that have a direct impact on a photo’s brightness (ignoring flash settings, of course). Cameras can modify one or more of these three variables even when they are configured to compensate for exposure.
In order to avoid overexposure, keep an eye on the camera’s screen when shooting photographs. As soon as possible, you should return your ISO to its default setting (usually ISO 100). Using a faster shutter speed is recommended if it is already there. But in general try not to overexpose, because it will be almost impossible to recover anything from it.
Focus on the light
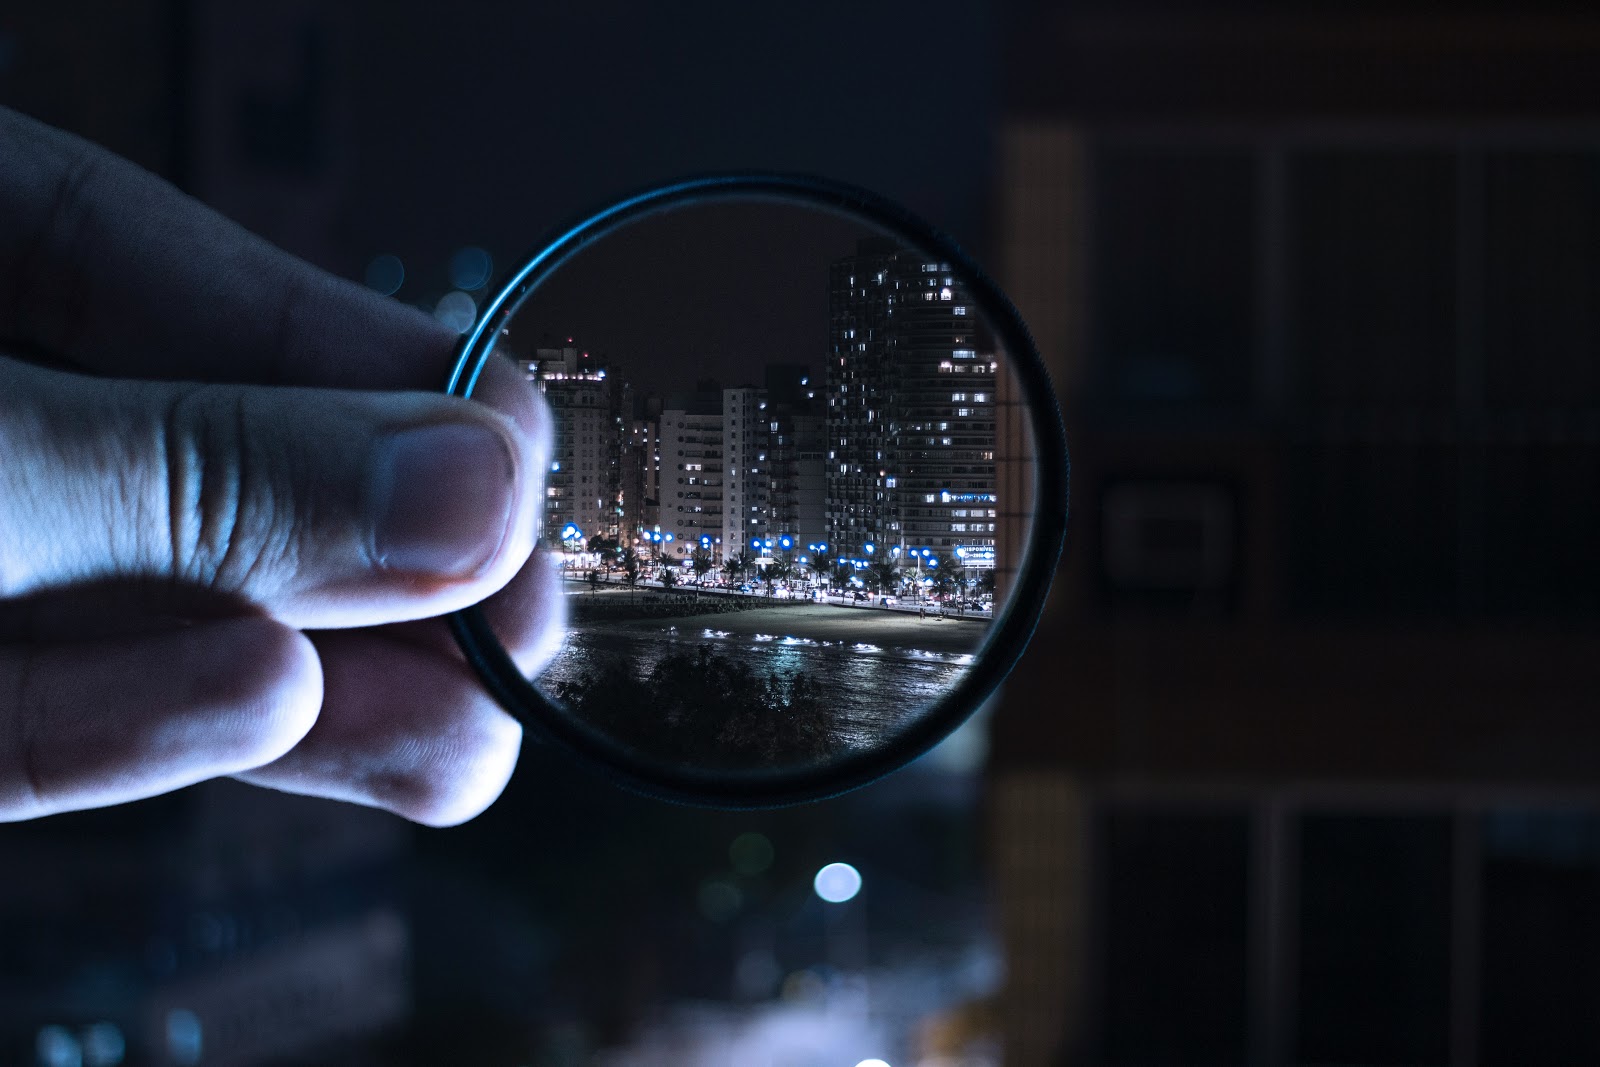
The most essential aspect of photography is probably light, not to say certainly. Nice lighting is essential to taking a good shot. What, therefore, constitutes excellent illumination? Sunsets are not the only thing to consider.
A common aim in this situation is creating an even distribution of light between your subject and the background. Foregrounds that are entirely black and silhouetted can spoil even the most beautiful sunset shots.
Simplest solution: Pay attention to light direction and softness. Photographing portraits may be difficult if the light is too bright and casts poor shadows over the person. Try to relocate the light source (in a studio) or the subject (outdoors) away from the unfavorable angle, or wait till the light is better (landscape photography).
When shooting photographs with your hands, be sure that there is enough light. If not, try using a flash or moving to a brighter area of the room. Light deficiency is the quickest method to produce dull, faded pictures.
And in some situations where you have no choice of time and place, and those situations do exist, try to make the most with what you have.
Take your time and enjoy yourself

As a photographer, it is simple to make mistakes if you aren’t paying attention. There is a method to get around this, but it involves slowing down and taking your time wherever feasible, especially at the beginning of your journey into learning photography.
Check your camera’s settings first. Someone has messed up if they’re taking outside portraits on a beautiful day, yet utilizing last night’s settings for capturing the Milky Way. Take your time and do it correctly.
Afterward, use the same mentality for all future crucial decisions. Is your composition as excellent as it can be, or might it be better? Was the autofocus placed in the correct location? What have you done to enhance the lighting?
A final word of advice: don’t believe anybody who tells you to avoid examining pictures while on location. When you’re in the middle of an exciting event, it’s not a good idea to study your photographs, but you’ll nearly always have some leisure in between shots. If this happens, try to evaluate your best images when you are still in the filed and make sure to get something back home that you can use.
Another piece of advice, do not see the world only through your lens. Stop, take a deep breath and enjoy the view, even for a couple of minutes. This will make you create a mental note of the place you were at, the light on that day and all other sensations just looking to photograph is hard to achieve.
Get up and walk everywhere

When you’re shooting photographs, it’s easy to become trapped in one spot. Be careful not to fall into the trap! Opt for as much movement as possible from your feet (or from your tripod). Just keep moving. Climb on top of stuff, adjust your camera’s angle, move forth and backward – whatever it takes.
Without shifting your feet or tripod once, you can snap a dozen shots from the same height looking in the same direction. They won’t be much different from one other, anyway. Without experimenting, your whole portfolio is likely to be taken from the same height.
Objects in your photo can only be resized and re-positioned by moving in your shot. Use your movement to improve your composition, to hide unwanted thing on your photos. But more importantly, do not set for just one point of view.
Utilize a tripod when it is appropriate

In the history of photography, tripods are one of the most important inventions. In fact, they almost completely eliminate one of the most difficult problems: a lack of light. It is possible to capture details that are undetectable to the human eye by using tripods. Even with brighter scenes, tripods increase composition stability and sharpness.
The majority of the time, if your talent is immobile. It’s an excellent idea for landscape, architectural, and still-life photographers to utilize a tripod. Even while a tripod might slow you down, it’s useful for event photography and action photography. Even thought, it looks like cumbersome to move around strapped on a pair of sticks, a tripod will help you more than you think.
Without hesitation, I’d choose the tripod set over the greatest camera/lens combo on the market.
Use a flash only when essential
Lighting something or someone is not limited to dark situations. If you need more light, flashes are perfect. You don’t need huge studio setups to create great light, all you need is a bit of knowledge.
You will see that a photograph does not need to look like that it was lit by a flash. You can use a lot of tricks to make it more natural and passable. Simply point your flash to a white ceiling will have a huge difference on how your photo will look like.
In the middle of the day, flashes are still beneficial. “Fill flash” is significant for a number of reasons, and this is why you may have heard of it. You can eliminate shadows on your subject by using a soft flash, and this will make a world of difference on your images.
Even though it’s ridiculous, I like to tell people that their camera’s built-in flash is more beneficial on a bright, sunny day than in the darkness, if they know how to use it.
IF you are on the group of anti-flasher I have something to say to you; – There were times when I was dying to have my flash with me, I would have done such a better job, just saying.
You Should Clean Your Camera’s Lenses
The front element of a camera lens is often filthy, dusty, and smeared. That’s the quickest and easiest technique to obtain blurry photographs every time. I’ve seen far too many people do this.
An image will not be affected by a little amount of dust. Lenses contain tiny dust particles that are hard to remove without disassembling the lens — and which have no effect on the final image.
What I’m talking about instead are dirty, grimy lenses that haven’t been cleaned in a long time. Invest in a microfiber cloth and lens cleaning solution today. Travel with them and utilize them at least once a week, or more if possible and needed, but first always consult your manuals before spraying anything on your lenses.
Use a high-quality filter
Using an inexpensive filter on the front of your lens is the second-simplest technique to produce blurry photographs 100 percent of the time. I think the first place goes to the smeared with something front element of your lens.
Inexpensive filters are made with low quality, or even not produced with high standards, material. So be careful with what you put in front of your lenses. I normally avoid any kind of filter designed just to protect the front lens element, because they introduce another layer of glass that will affect my images.
For sure, we have some other situations where specialty filters or functions filter are necessary, like a CPL or and ND filter, but these filter have a clear function and sometimes there is no way around it.
And this tip goes further than the filter you put in your camera lens, but also the filters or presets you use to edit your images, they can make or break an image. Knowing how you want your photos to look like before you take it is a huge step in the direction of taking good pictures and this process involves all the post-production part.
If you have a good idea of the final product, you will have heaps of information to lay down a great base for your photograph and achieve your vision with no time. On the other hand, just slapping cheap presets on an image just to see if it feels right is a gamble that you will lose more than win most of the time.
Learn the Fundamentals of Post-Processing

Post-processing isn’t high on the priority list for most photographers, but it should be. Good photos may be transformed into something absolutely special with the appropriate post-processing techniques.
There is a danger of going overboard with post-processing. The best thing you can do is to avoid “destructive editing,” which is the act of making changes that are irreversible. Or, better yet, edit with software that keeps your modifications as a separate file instead of baking them into the image itself.
Today, we have tons of options for post-processing. From the inexpensive piece of software that may not help you down the road to the monthly supported industry-standard one that will take some time to master but will have a great impact on your craft.
However, I would say that no matter which stream you choose, go with something that gives you the capability to be creative and more importantly that does not take out your joy for photography.
This is done by adding a mood to a picture, as well as by leading the viewer’s eye across it.
Photos should be backed up
Me and some of my photographers, and we have all lost some significant photographs at some point. This should never happen to you. But, just read below.
It is not if it fails, but when it fails
As a first step, make a copy of each one of your photographs. If you keep all of your photographs on a single hard disc at a time, it will ultimately fail. So just one drive is not a great solution.
At any one moment, you should have at least three copies of all your pictures. An internal hard drive and a removable storage device should be included. Off-site storage is recommended for at least one of your backups. You can partner with a friend, and you can store his files while at the same time he or she will store yours, this is one of the cheapest way to create an off site backup system. The only thing needed is an extra external hard drive and, of course, a good friend.
My photographs are among my most prized things, and I don’t want to lose them under any circumstances. A real-time internet backup of my hard disc is performed daily, and I also have complete backups on numerous external hard drives. Overkill, but that’s the idea, I suppose. If I could, I would also have some of my pictures printed on archival paper, stored in a box inside a bank vault.
Organize your life!

Whatever your level of organization, it’s vital that your photographs are easily accessible. In addition to speeding up your productivity, it’s vital to remember how you’ve arranged your hard drive, so you don’t unintentionally delete a folder containing valuable photos.
Create a new folder containing photos for each year, and then separate the folders by month (named “01 January,” “02 February,” and so on) As a result, I separate and organize the photographs in my post-processing program. I may then search for photos from a certain place or for a specific project.
There are, however, a number of other options. Rather than organizing their pictures by months, some photographers choose to organize their photos by year, and then break each year into distinct events. It doesn’t matter what method you use, as long as you are comfortable with it. However, it is important to establish excellent habits as soon as possible to avoid future problems.
Some programs allow you to keep a more descriptive information about the shot, like keywords, this is a great help when you have a huge library of images to go through.
Consider a new option
Photography becomes more intriguing as you experiment more. Occasionally, try something different. It’s easy to slip into a pattern of taking the same photographs over and over.
Try your hand at macrophotography, or experiment with different lighting methods. Adapt your post-processing style to something new. Be spontaneous and drive to a new place. You won’t regret trying something new in photography if you do allow yourself.
Also, try to keep contact with your photography peers, but also find new people to talk to and to discuss your work and get a new and fresh perspective about it, even if this new opinion does not please you it will certainly help you to grow as a photographer and as a person.
Get to Know Other Photographers

Other photographers are a great source of inspiration, as well as tips on how to improve.
The number of people who are willing to share their tips and skills with other photographers is rather surprising. Even Ansel Adams authored many books detailing his photographing skills. So the information is out there just waiting for you.
This is still true if you prefer self-guided instruction in photography. Use internet forums to ask questions, email photographers whose work you love, and preserve other useful information.
Also be prepared to receive criticism, sometimes harsh criticism, photography is an art and a way to communicate thoughts and not everyone has the same task for art or the same understanding of the world as you. Take the harsh criticism lightly, after all it should not define you, but help you grow.
Never stop learning. Learn more. There’s always more to discover.
Repair Your Weaknesses
If you’re still trying to figure out what shutter speed, aperture, and ISO mean, it’s tempting to go back to Auto mode rather than practice what you don’t understand. That is a major blunder!
If you’re learning portrait photography and have trouble acquiring excellent light from your flash, it might be tempting to shoot all of your interior shots near a window for great light. That is also a major blunder!
If you’re attempting to learn to post-process, but your software is complicated, it’s tempting to shoot everything in JPEG just to get anything nice out of the camera. But, you guessed it, that’s another enormous blunder!
Be honest with yourself and do not try to hide your weaknesses. Repair them. The greatest approach to improve your photography is to identify what you don’t understand and then devote the required time to learning it. This is especially true for beginning photographers, who have the most to learn, but even professionals might benefit from this advice. Sure I do.
View Your Old Photographs
It seems that many photographers take photographs, select the finest ones, and they seldom or never return to the rest of the photos. Your old, unused photographs are useful for a variety of reasons.
First and foremost, they assist you to strengthen your weak areas. You only need to ask yourself: Why are your terrible photographs, on average, awful? For example, you may focus improperly, exposing for too much or too little light, compose awkwardly, etc. All of this information is really valuable since it allows you to fix the problem better the following time.
Another possibility is finding a beautiful shot that you had missed the first time around. We all grow as humans and our tastes change with the years, and something that 5 years ago you did find interesting might be a real hidden gem just waiting to be discovered.
Have a great time

Fun is supposed to be one of the goals of photography. Nearly many professional photographers picked their job because they like taking pictures in the first place. Be sure not to let the spark go out of control.
As noted before, some of this may be attributed to attempting something new, as well as continuing to master new abilities. As well, it’s important to not take photography too seriously or to not become too engrossed with the equipment at the expense of the actual photography.
On the internet, I see a lot of people get into heated discussions about their camera brand of choice or a good or bad/opinionated review they read. Who gives a fuc* about it? As a result, photography becomes simply another irritation in your life, rather than a source of delight and joy.
Instead, ask yourself why you enjoy shooting photos in the first place. You get to see some great sites and meet some smart, creative individuals as a result. Those who are most passionate about photography are the greatest, and that’s no surprise.
Experiment and shoot a lot!

Practice, practice, and more practice. You may use it for any talent, not just photography. I remember the days that I spent 8 hours inside my room just messing with my guitars and the practice paid off, at least I like to think so.
Cameras are complex pieces of equipment. The same can be said for post-processing software, as well as (and maybe most importantly) for the creative aspect of photography.
You’ll get better shots as you experiment and take more pictures. Not only does number matter, but so does quality. Most of your later travels and picture shoots will be more successful than your early ones.
That is not to suggest that your early photographs will always be poor. The famous remark by Henri Cartier-Bresson, “Your first 10,000 photos are your worst,” is a little overstated. However, I can see that there is some truth to it. You may capture beautiful shots when you first start out, but it takes some luck, and you’ll become better as you take more photos.
In short, the more time you devote to photography, the easier it will be to get the images you desire. That is the ultimate objective of all of this: to translate the image in your brain and the feelings you feel into a photograph that allows others to feel, or to convey a thought, the same way.
And these are the best 2021 photography tips for beginners, leave your thoughts on the comments!

