

Article content
No matter which car you drive, a muscle car or a finely tuned Porsche, you will usually want cool pictures of your little boy and today you will see the light painting technique can help you take surreal photos not just of cars but of everything around you.
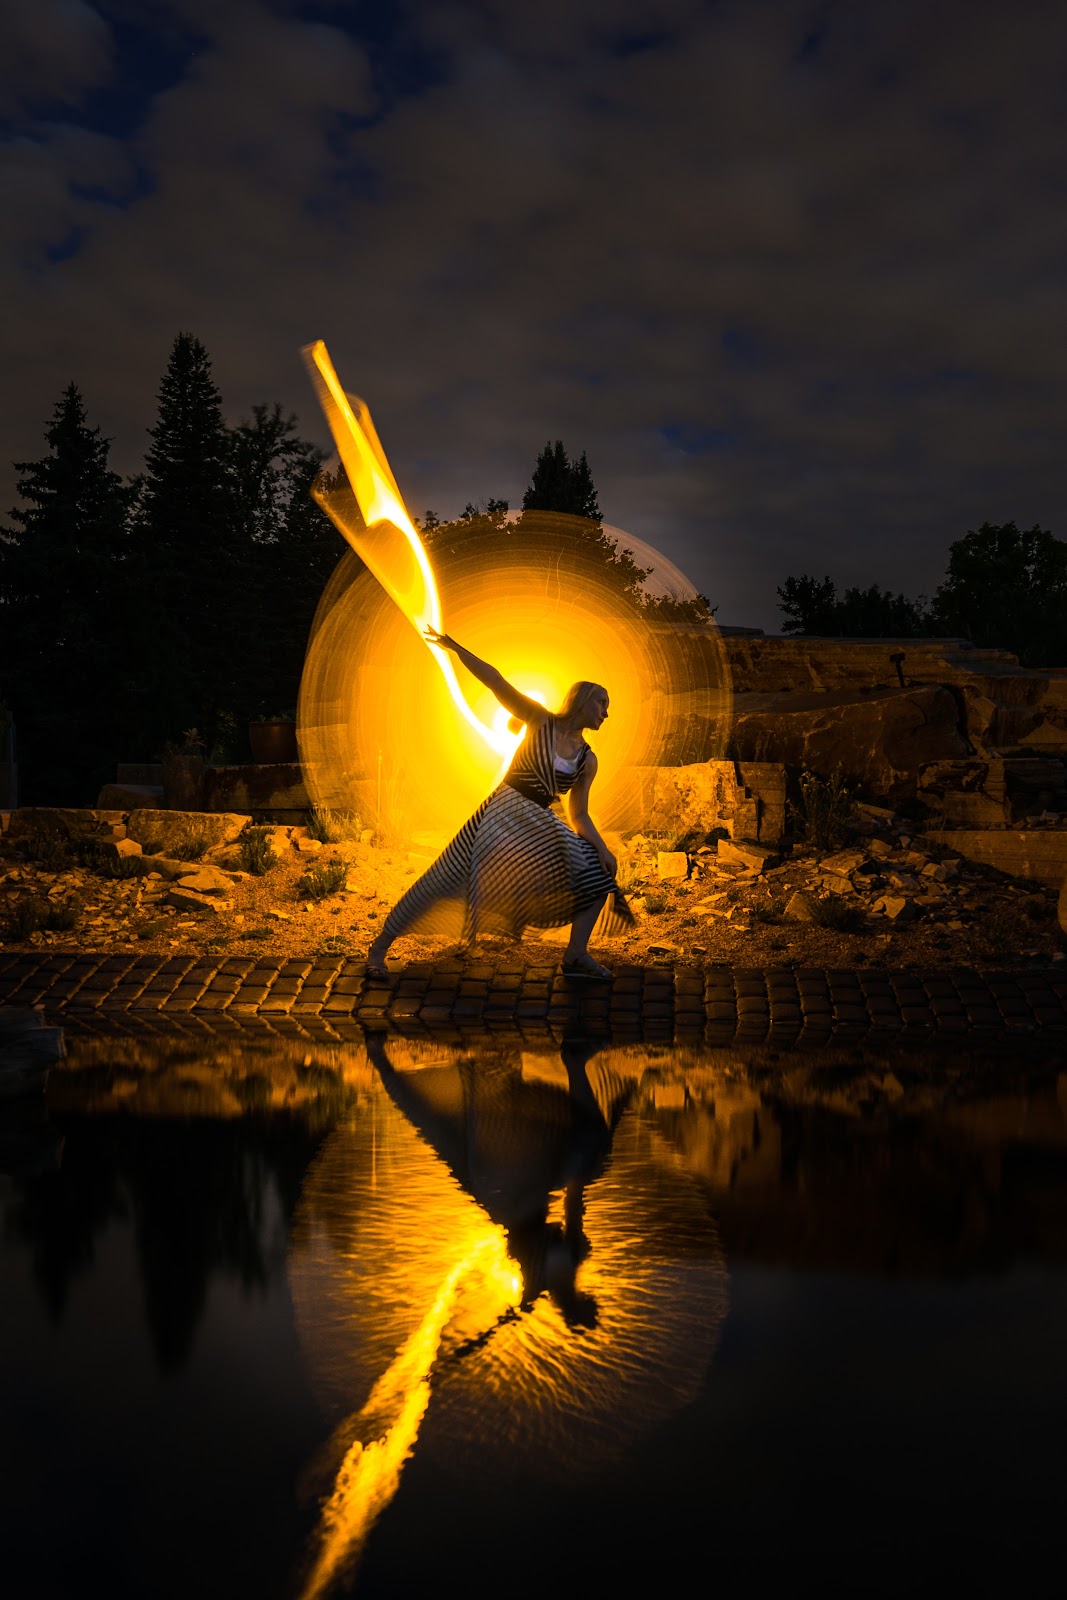
The reason a painted image of light looks so incredible is because the light is literally surrounding the subject. And it can be coming from all sides if you want.
We usually see pictures of objects illuminated from just one angle, and often the light source is the sun, which can be quite dull. In addition, using light painting the reflections will give a very cool look when seen in the body of a car, for example. But the technique can be applied in almost any situation where you can use a slower shutter speed.
Light painting, from the beginning
What is the first step? Clean the car! The light makes every speck of dirt and grime immediately visible.
Unless you are going for a grungy style, you will want to make sure the car is clean. Depending on what you are painting with light it is also important to pay attention to highly reflective details, as these will make much of the story happen.
Since light painting involves leaving the camera shutter open for a while, you will also need a dark environment, and it is logical that it fits the car, if this is what you are photographing.
It is best to let it get dark and / or close your entire garage. Avoid any ambient light as much as possible. But of course you can use some lighting source creatively, like moonlight to help you with your light painting.
What to use with your Light source
One of the cool things about painting with light is that you don’t have to invest thousands or even hundreds of dollars in equipment to get started. We can literally use any light source, be it a professional video light or simply a flashlight app on your smartphone .
In this post we used a LEDGo Portable Video Light, which is a small but powerful light that can be held by hand.


A disadvantage of this type of light source is that it sheds light everywhere, including the direction of the camera. This way you will have a good amount of light, but you will have to take some care if you want to take a cleaner photo and without many rays of light on all sides.
In many cases you will want to find some way to protect or direct the light towards it that is only visible on the object being photographed.
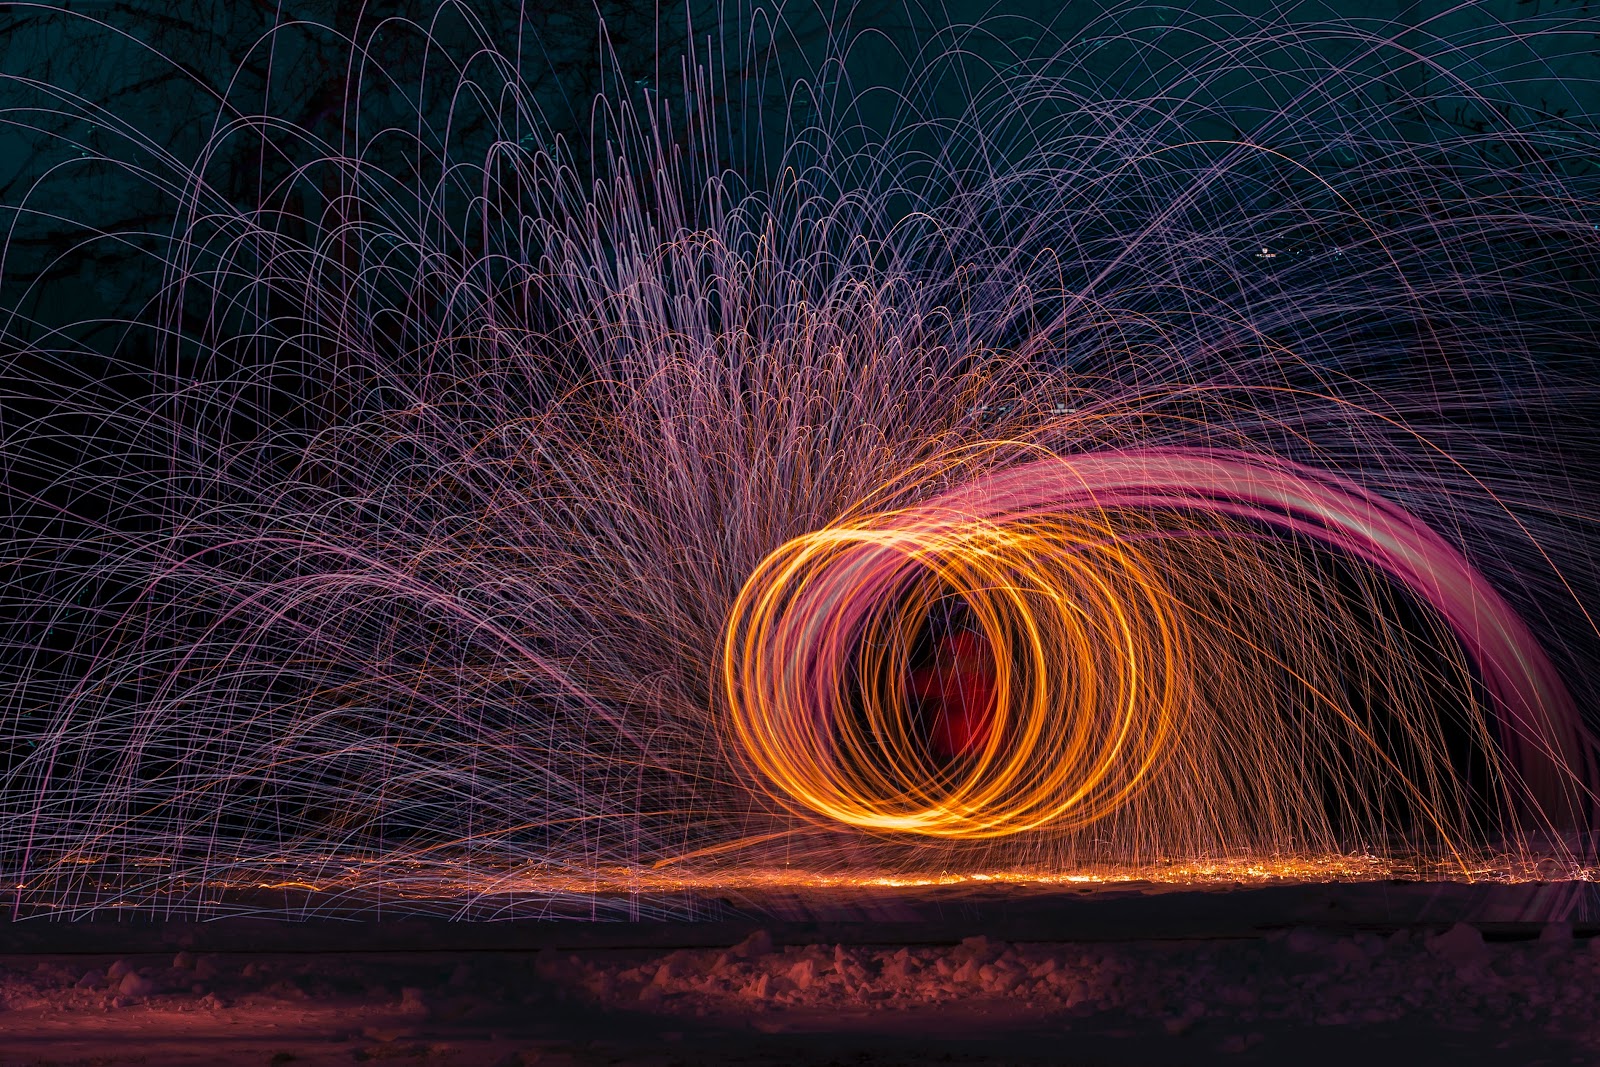
It is possible to use which light source, and if you only have a lighter and a little bit of steel wool you can create an effect like the one in the photo below. This photo uses the same principle as painting with light.
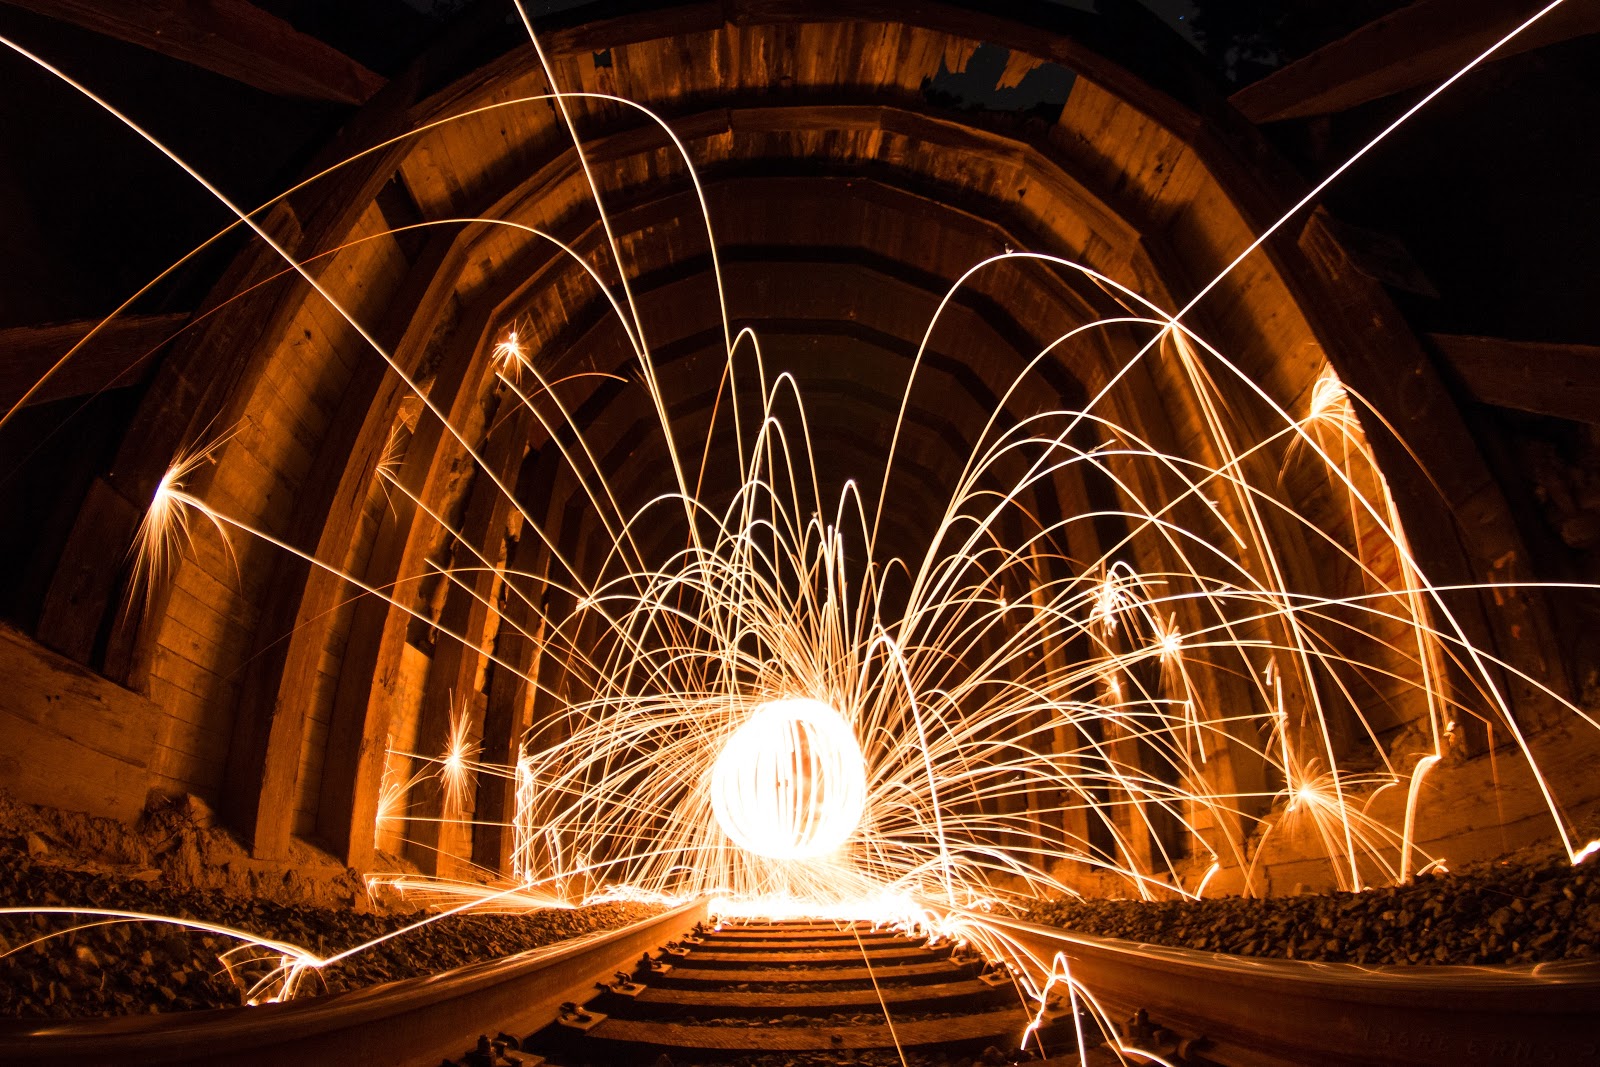
The more you use your imagination, the more unusual results you will achieve. And more impressive images can be created using light painting.
There are even specific equipment on the market for this purpose, and if you want to take this type of photography seriously you can go after these equipment that will certainly help you a lot. One of them is Pixelstick , which is a super cool tool.
Of course, there are simpler versions with fewer resources but the Pixelstick more that also serves the purpose of painting with light very well. Like this one:

Which is just an RGB LED stick that can be very useful and fun to use.
No matter what your light source is, the most important thing is your plan of attack.

Configuring the game plan
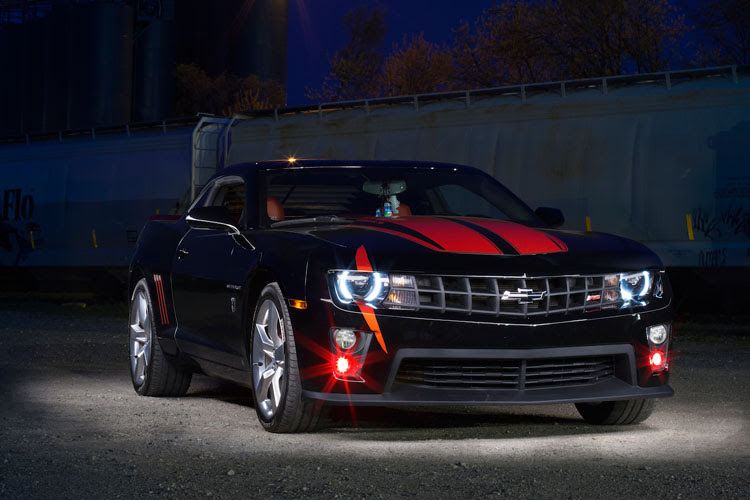
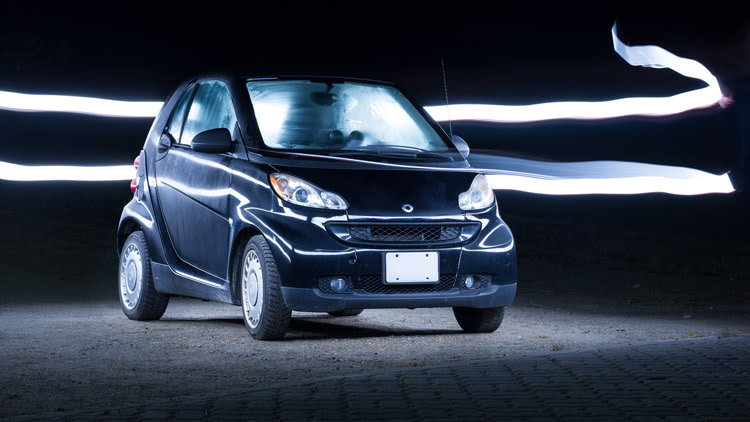
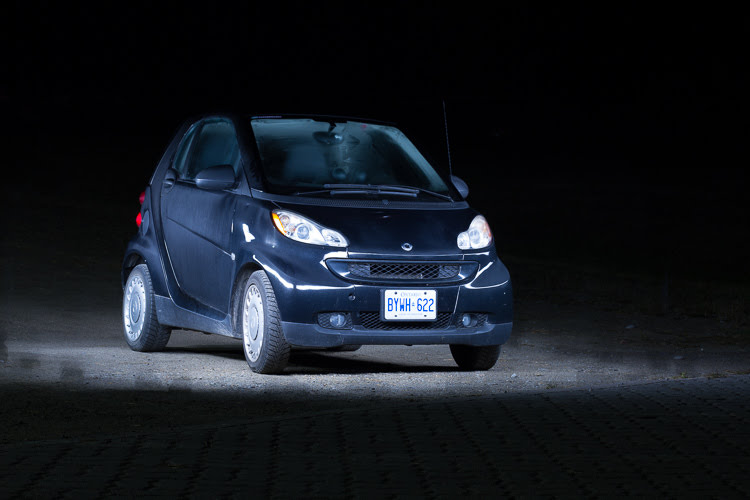
In this example, the light source was seen by the camera, which created a unique halo or ray of light effect around the car.
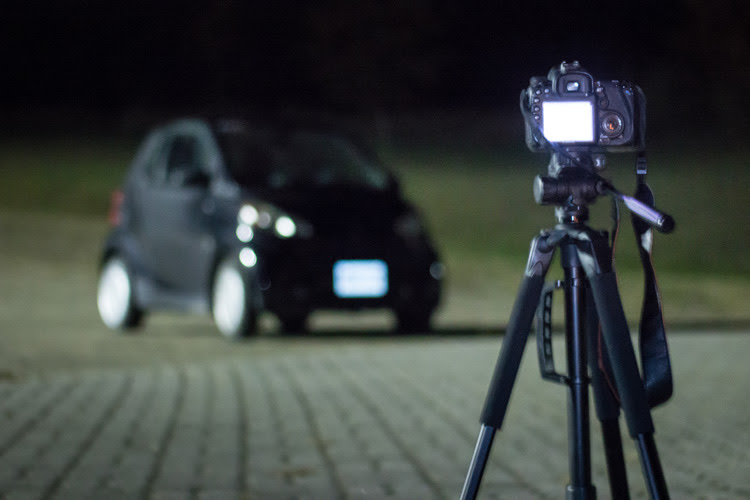
Perhaps the most important piece of equipment you will need for a light painting session is a tripod.
Since your shutter will be open for a long period of time, a steady tripod that does not move when taking a picture is essential.
As for the type of lens it doesn’t have to be anything out of this world, you can use the one you have at your disposal. It is worth remembering that the choice of lenses can make a big difference in the final image.
Use your exposure settings to avoid any unwanted ambient light, move the ISO and aperture to compensate for your exposure, so you can ensure that your shutter still maintains a slow speed.
Exhibition setup
The first step is to get a basic exposure, for that you will have to face the manual mode of your camera, don’t be afraid the manual mode is the easiest of all;)
If you leave the camera in automatic mode, it will try to compensate for the lack of light and the result will not be as expected.
- First, select the lowest ISO that your sensor accepts, on most cameras it is ISO 100. As an added benefit, using a low ISO will also result in a high-quality, noise-free image.
- Next , you’ll want to choose a very narrow aperture, F / 22 for example. This will keep a large part of the image in focus. It will also help to make the image darker as needed. Of course, this will also depend on how much ambient light you have to cut from your exposure.
- Finally , choose a shutter speed that gives you a little time to paint your car with light. It is worth testing, and it is very likely that you will reach about 25 seconds or more if you want to do the whole process in one exposure
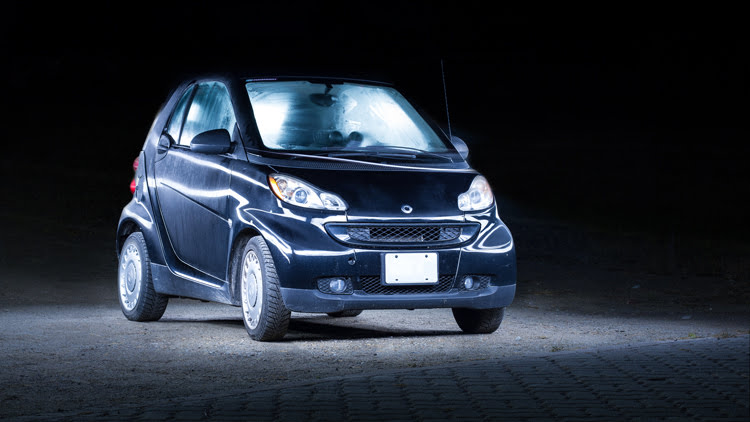
As you can see below, this base image is almost completely dark. That’s perfect. Now the final image will be just what I paint with my light.
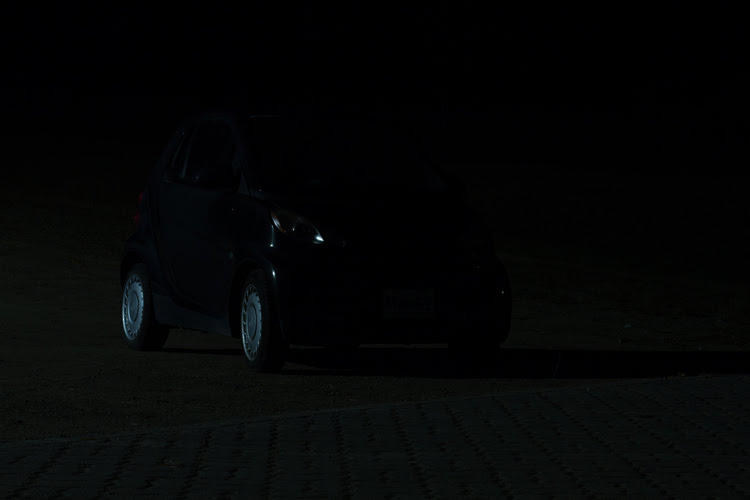
The base exposure of my image was ISO 100, f / 9, 25 seconds.
Let the light be done, time to start painting
Now that everything is ready it’s time to start painting
To activate the camera shutter you can use some paths, set a timer, ask a friend to shoot you when you are ready or use a remote control.
Of course, in this type of photography there is more work than you think, so trial and error will always be present. Pay attention to how the light is reflecting on what you are painting, and how it spreads through the environment.
Look for angles that surround what you are painting with light, so that no reflected light streaks appear.
You will try a few times until you find the ideal distance so that there is neither too much nor too little light, do not let this cut your price. The more you practice the better your results will be.
You can even create background effects, using light to create effects.

As you don’t appear in the photo ..
It is known that the camera can only see illuminated objects in front of it.
So when you point your light source away from you and keep moving as long as the shutter is open, the camera just won’t see you.
You won’t be standing still, and lit, long enough for the sensor to be able to see and record your image.
But if you appear in the image, something may be wrong.
- You may have been caught in the light reflecting off the car (or accidentally switched on your lighting source towards you).
- There may be a lot of ambient light, so try adjusting the exposure settings to get a slightly darker base shot.
- You have been standing in one place for a long time, continuing to move helps to resolve this issue.
Typically, these ghostly appearances can be fixed easily with Photoshop later, although you may want to adjust some settings to save some editing time.
Control your lighting
If you find that your light is not working well for the end result you want, there are two ways to control it.
To effectively make your light more powerful, you can choose a wider aperture (lower f-stop number) or increase the ISO.
Any of these options will make the camera more sensitive to all lights, including the light in your hand.
Be aware that these changes have also affected the base’s exposure so that ambient light conditions become more apparent.
So, you may also need to change the shutter speed to keep the image properly dark, probably increasing the exposure time
If all else fails, your last option may simply be to buy a brighter light.
The lighting sources can be as varied as possible, and it is clear that a good flashlight will do the job well. If you are going to take this seriously, it is legal to invest in the most varied types of lighting.
Final edit
Often, painted images of light are quite impressive, even without editing, coming straight out of the camera. And as you know you can use a post production editor to improve your image in many ways.
You can take this image to Lightroom for example and work it the way you prefer. Don’t forget to shoot in RAW for more flexibility when editing.
General adjustments
First, you will want to find a good white balance.
Speaking of cars, look for a white setting that privileges the chrome lines and steel parts of the car, so cooler white settings do this job well.
If you haven’t cleaned your car perfectly, or whatever you’re shooting needs to be cleaned, you’ll have extra editing work cleaning up most of the dirt with Spot healing tools .
At this stage it is good to look for dirt that is in the sensor or lens of the camera, because as the shutter was open for a long time it is common for dirt spots to appear.
Selective adjustments
It may be necessary to darken or lighten certain areas of the photo, so that is where the selective adjustments process comes in. With the help of a brush, speaking of Lightroom, it is possible to make these adjustments quickly and simply.
You can also use gradient filters to control the ambient lighting and bring more attention to the main character in the photo.
Run to the street and go play
Painting with light as well as being a good option for photographing certain scenes is also a very fun process, and as the whole procedure involves trial and error, the only thing you need is to run out into the street and start painting.
Did you like the post? Help us, share on your timeline and leave your comment.

