

Article content
Many people say that photography is an art form, and I do not disagree at all, there are so many elements involved that it is even easy to get lost during the process of creating a work, and today I will give some tips of the penultimate process of all, post-production for beginners.
The post-production may seem very challenging, especially for beginners, but what I say at this time is be calm, have patience and practice, try it.
Never forget that great photographs go beyond post-production. A beautiful photo needs strong concepts, needs to be well composed, so that this way we have a beautiful foundation to work.
Post-production software
The type of editing you will do to your images does not depend on which software you will choose, or already have, after all, it has almost the same functions.
The two most famous are Adobe Photoshop and Lightroom, which are weapons for serious amateur photographers and of course for professionals. But if you’re an absolute beginner maybe you’ll opt for other post-production software options, even because of some software costs absurd.
There are great options at no cost like PicMonkey and Picasa, which work great on a basic level. If you use your smartphone as a camera you will have a multitude of apps that will do all the post-production service, some of them very well by the way.
As I have not hidden previous articles I am a fan of Lightroom, and it is he who I will use to write this article.
Set the horizon
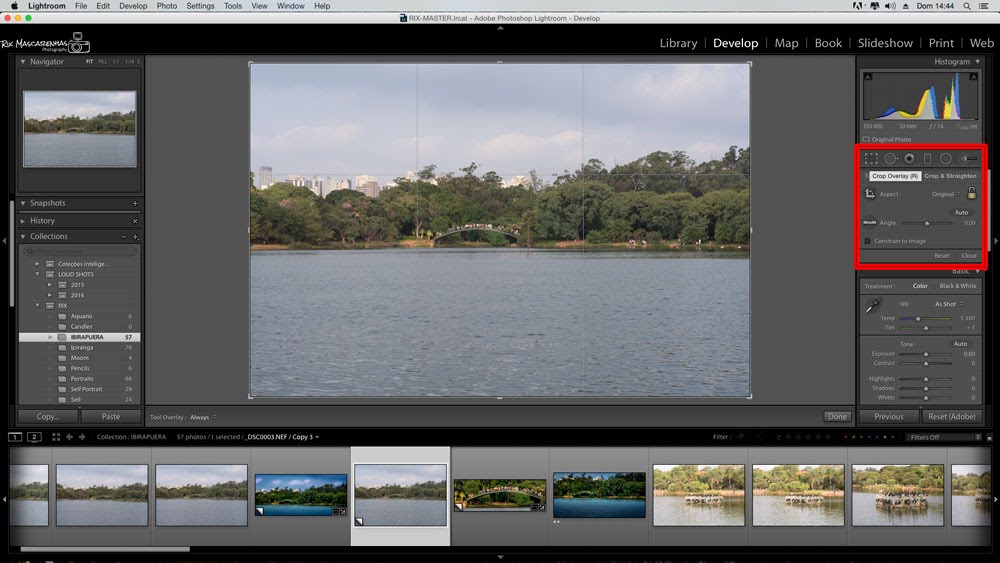
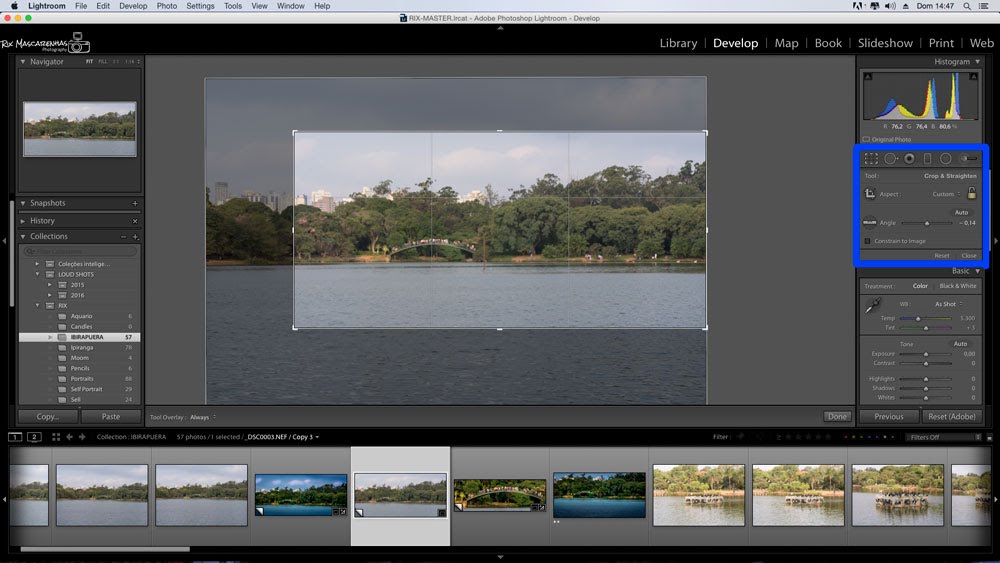
One of the first things I do in post-production is to adjust the horizon of the photo, as long as you have not done it directly on camera at the time of the shooting. Of course, this is not a rule, but just an option, because depending on the concept of the composition you want to pass to the viewer slanted photos can work very well. For images that have the horizon or main lines that will represent the same adjust the level of the horizon and almost an absolute need.
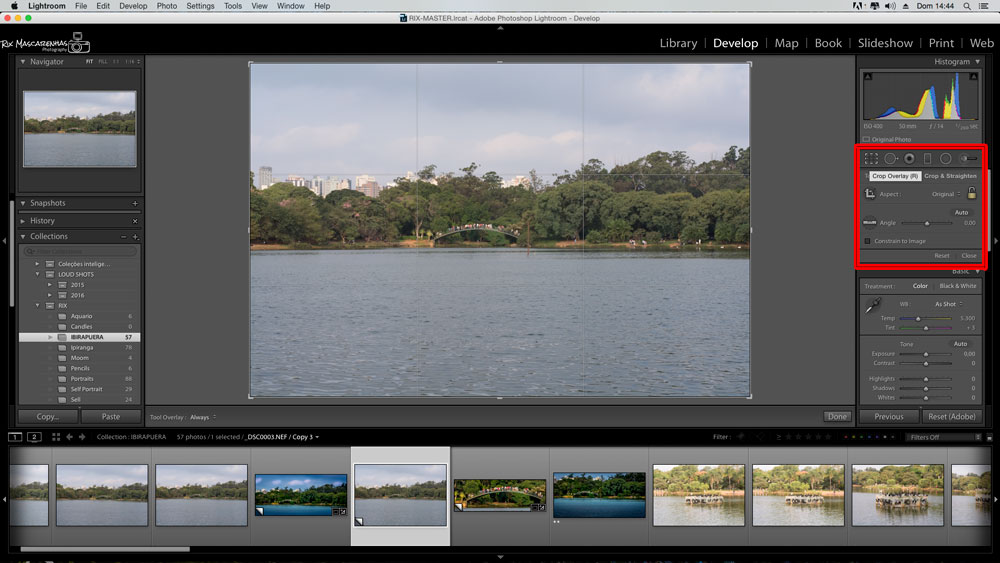
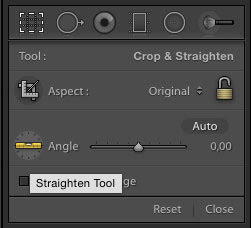
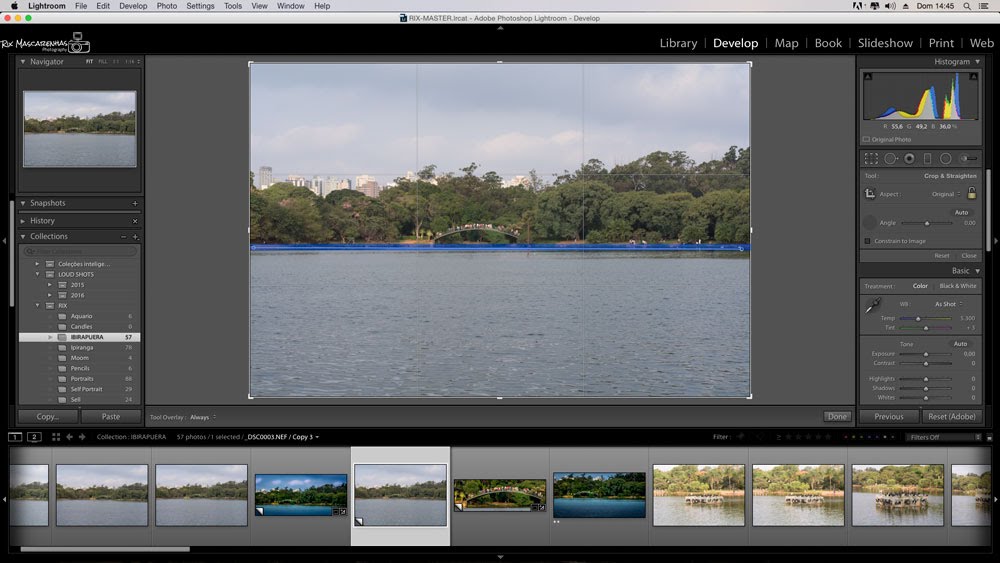
Use the Angle tool in Lightroom to adjust the horizon of your photos, you can also use this tool to draw your horizon line and make the process more organic.
Adjust or crop unwanted elements
After you’ve adjusted the horizon line it’s time to think about cropping, or cropping, the image. At this time it is good you analyze what can and can not stay in the photo.
Look for something that might be an unwanted object and see if it can be pulled out only in the crop of the image. It is not always possible to adjust everything with the crop.
If the cropping does not help you much at this time you will have to take more drastic procedures so that the objects that will not look good in the photos are removed.
If you are using Photoshop you will make good use of the clone and stamp tools to disappear with what you do not want it to appear.
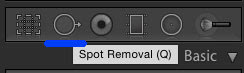
Already when you are doing the post-production in Lightroom the Spot Healing brush tool will be your best friend.
Remove all dust spots
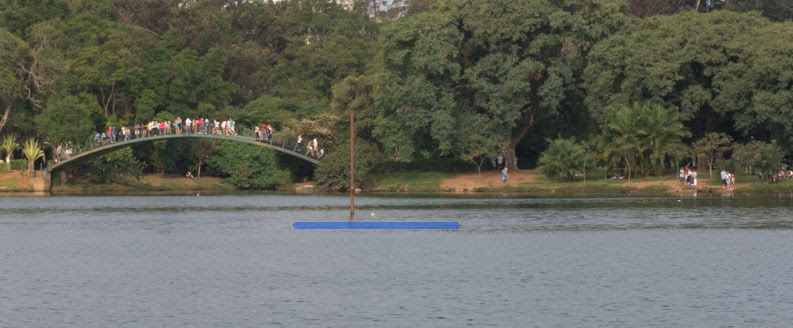
This step here may be your salvation in some cases, especially in cases of photos with long exposure. Of course, you can use this tool to remove objects you don’t want in the photo.
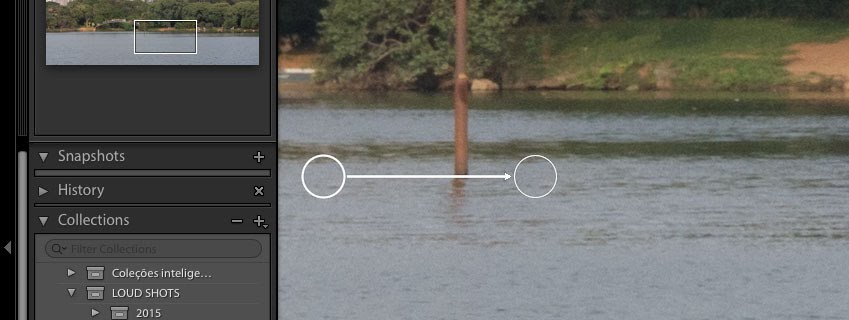
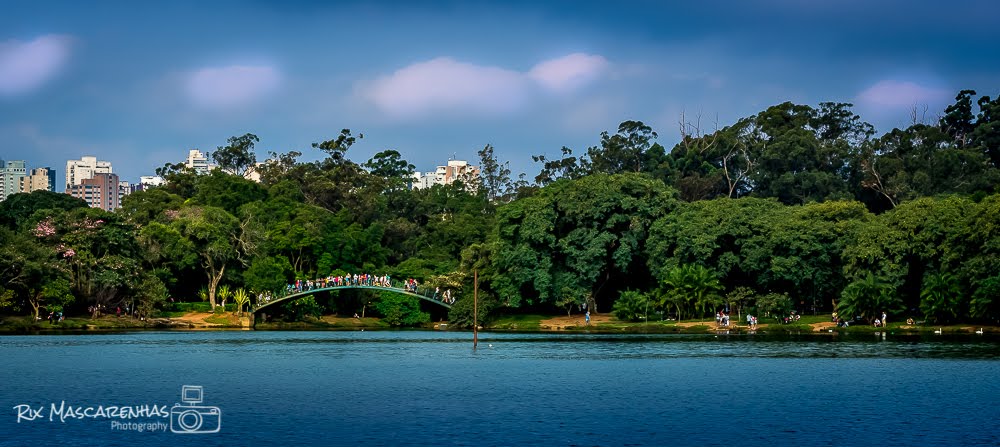
If you are using another software look for a tool that has an arrow option. In the suggested photo there was something I did not like to have in the photo, just a small detail, more anyway I had to remove, and for this, I used the spot healing on Lightroom.
Adjust exposure and contrast
Well here you may think that everything is already ready, but in fact, you may be just getting started.
Adjusts all levels of color, contrast and other things are almost always necessary so that you can pass on to the viewer all that feeling you had when taking the photo.
And speaking of Lightroom you have a section dedicated only to this procedure in the post-production of an image.
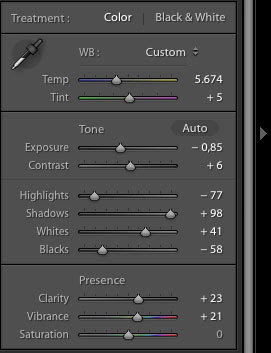
Here you can adjust the white balance of the image, contrast, correct exposure, adjust color temperature, adjust black and white levels and highlight regions and image shadows.
This maybe is the section you will spend most of the time in post image production, after all, you who deliver the best job possible. So let your imagination flow and put in the image everything you think it needs.
Adjust saturation
Adjusting color saturation and temperature will take your images to new mood patterns, so take care of this so that your images don’t look too processed and overcharged, unless this is intentional.
Export to web or print
This is where people make the most mistakes. When deciding the distribution format of your images, and post-production also takes care of these aspects.
Then you will have to use different settings when distributing your photos over the web or if you print them to make that nice picture.
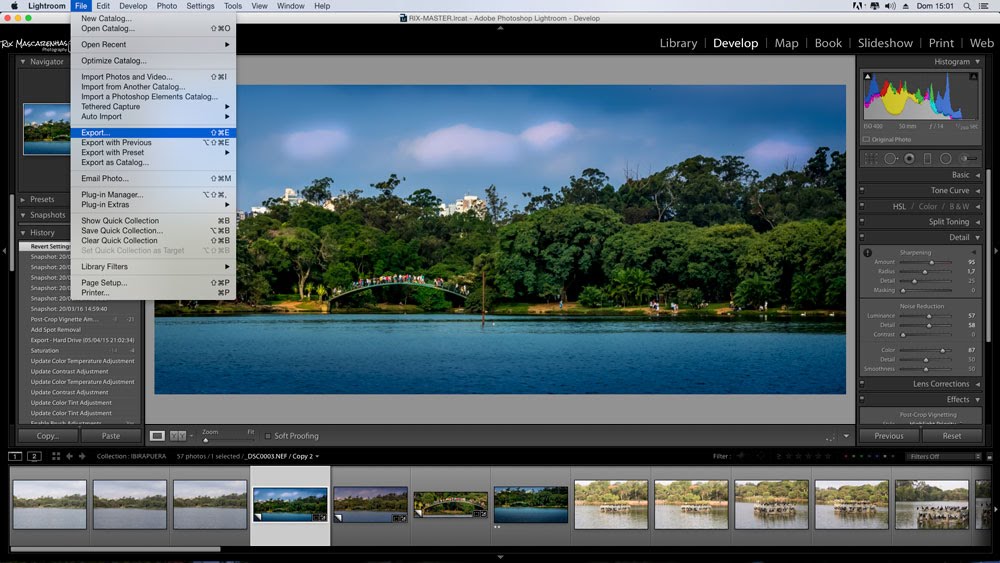
By clicking File, or File, and then in export, you will find the Lightroom export menu, it is possible to change the distribution name of the file also change the dimensions as well as include a watermark.
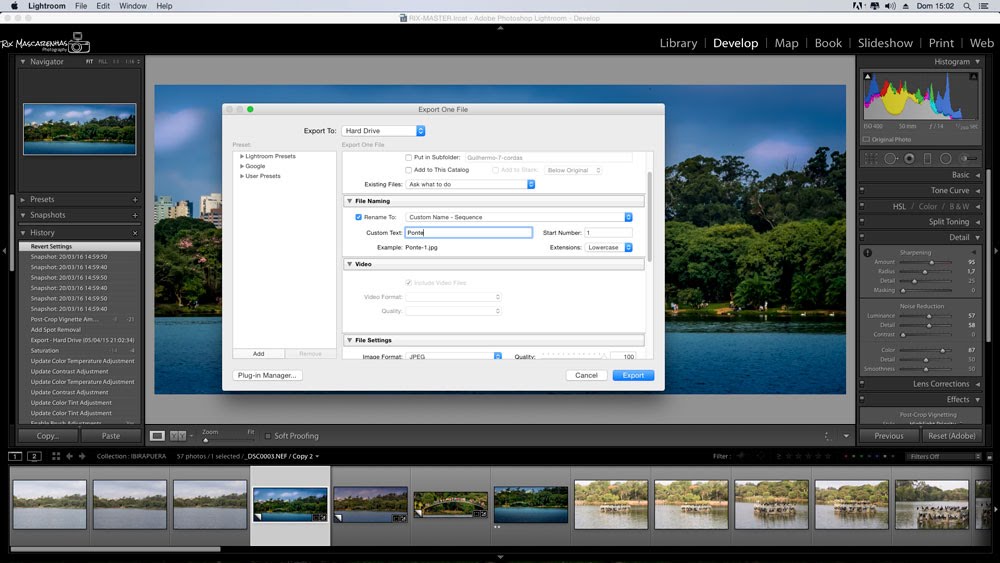
When you are distributing your images over the internet, always pay close attention to the dimensions allowed by the sites where you intend to send such photos.
And this can be done in post production in the Lightroom export menu.
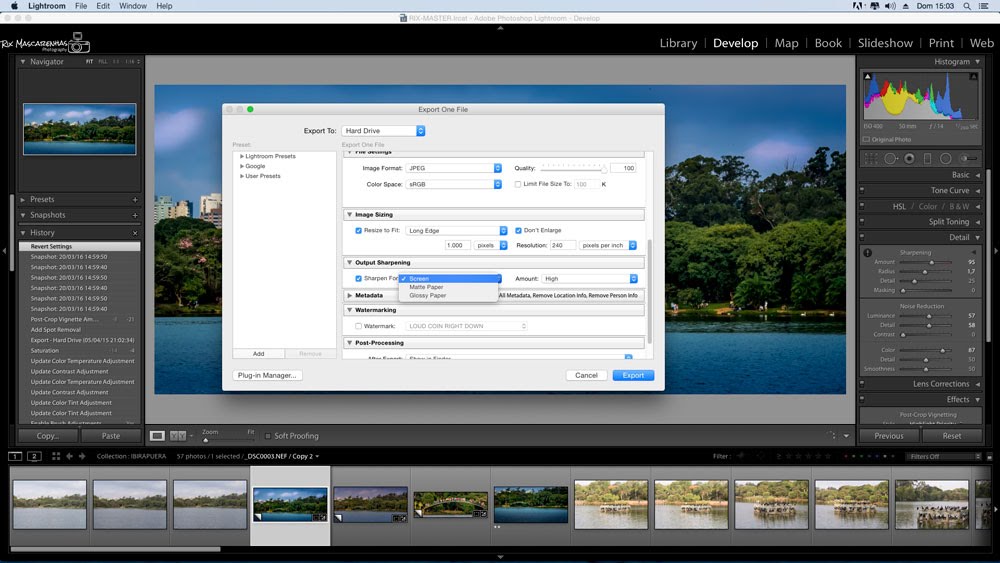
Choose whether the image will be distributed across the web or whether it will be printed.
Finally, once you finish your image will only miss one thing, enjoy. The post-production process may seem kind of complicated so you’re not used to it, but over time you’ll notice it’s worth every second you’ve invested in an image.
Here we have the final image after a process that took about 30 minutes, relying on the prints of the screen for the article.
Be sure to see the previous articles, to disclose in their timelines and of course they can leave comments!

